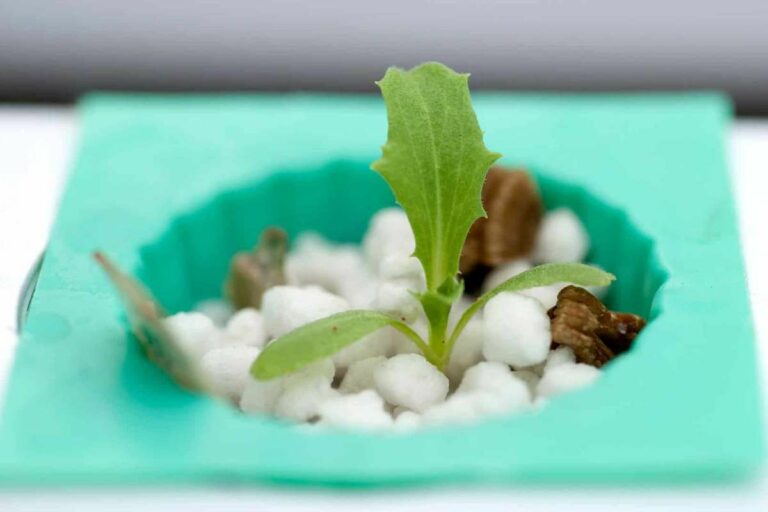
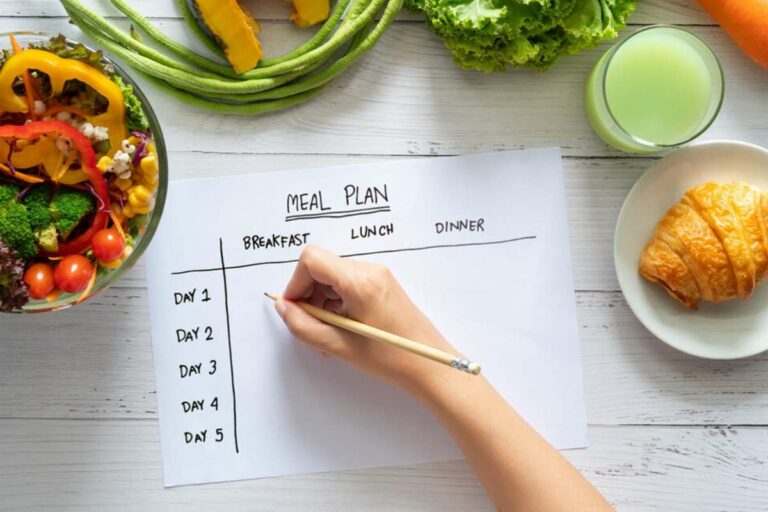
Building a healthy meal plan is a cornerstone of maintaining a balanced diet, and when you’re incorporating fresh produce from your hydroponics garden, it becomes not only a healthful endeavor but also an immensely rewarding one.
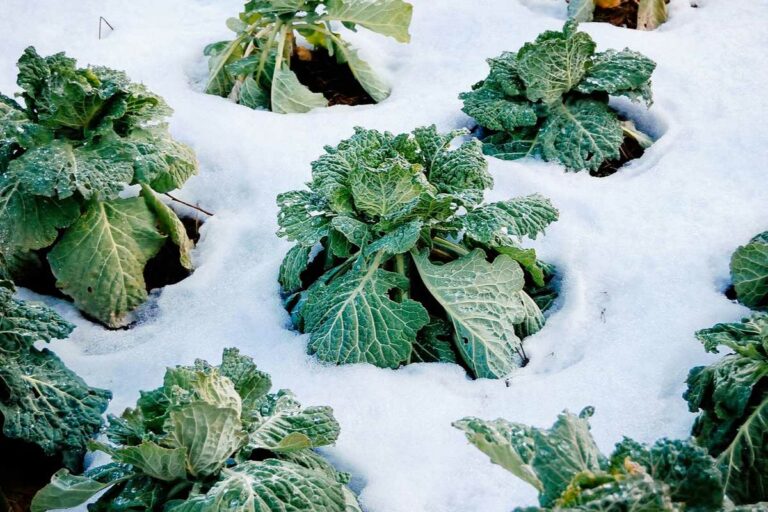
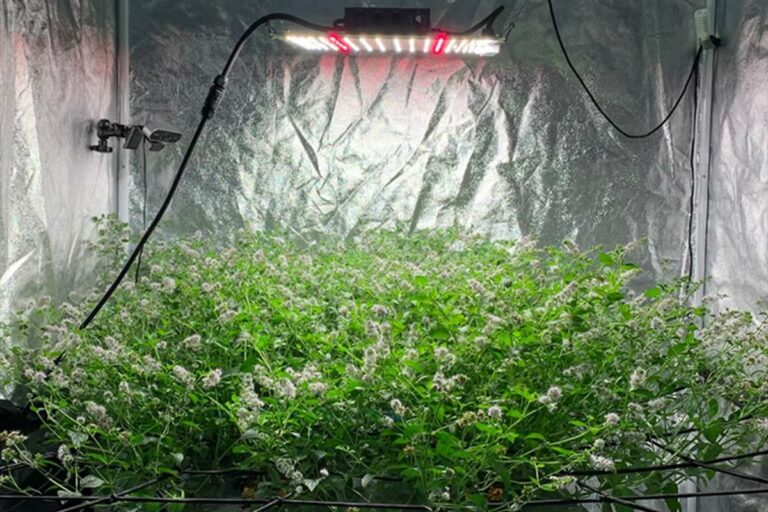
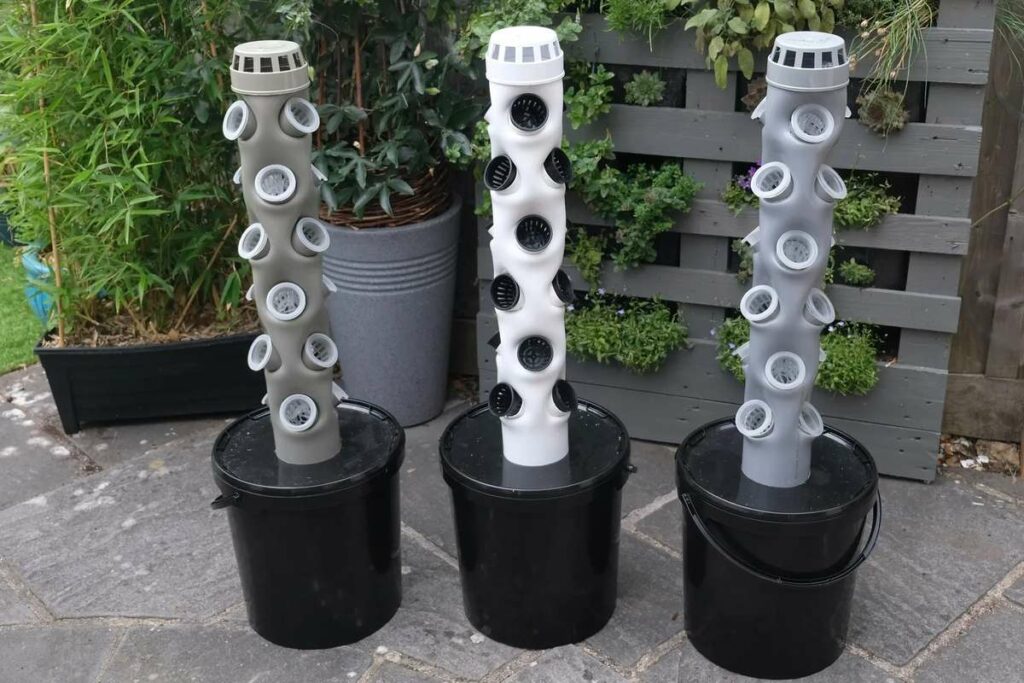
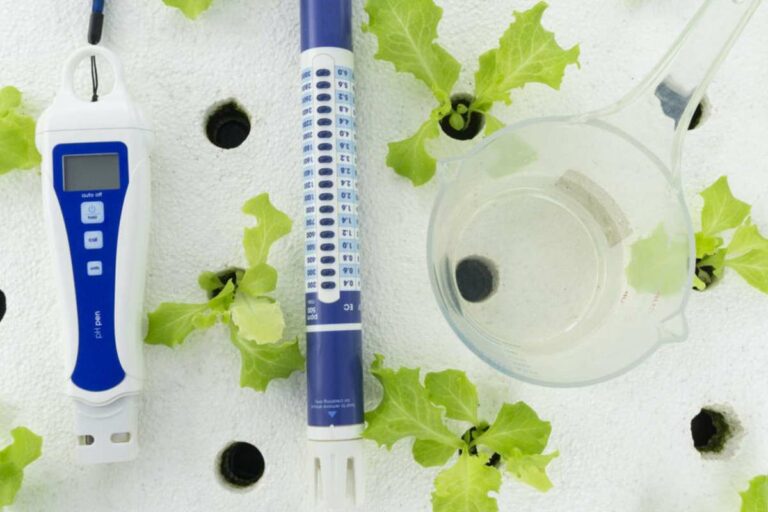
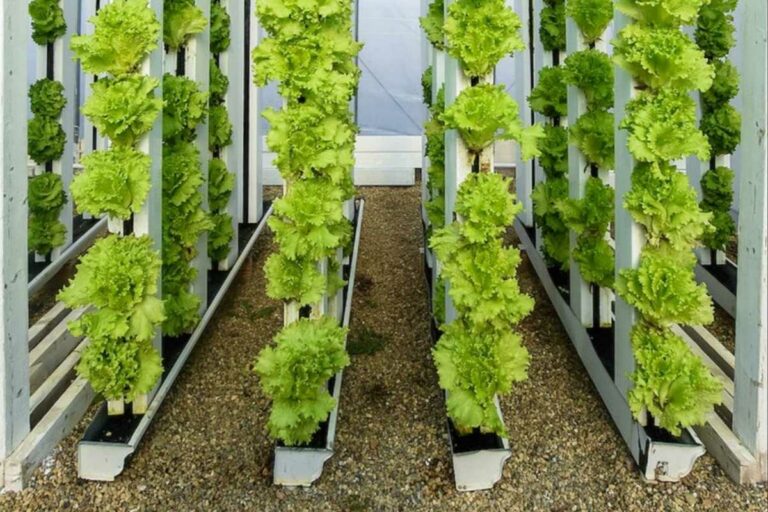
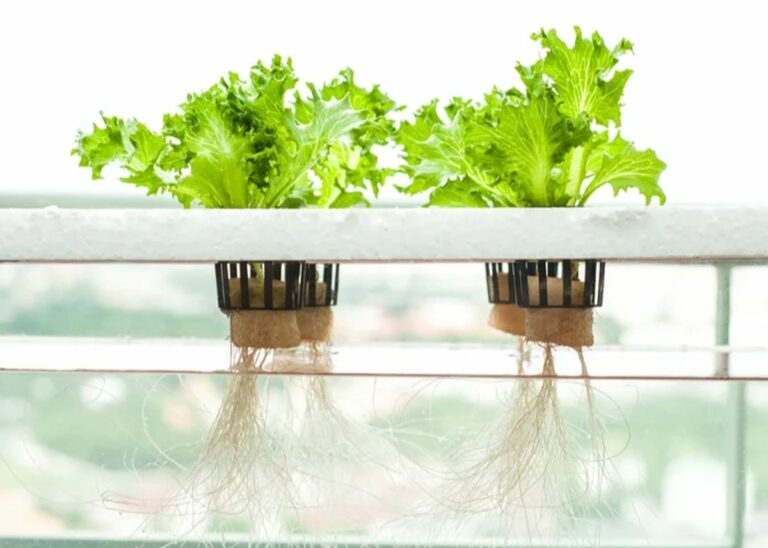
Hydroponics offers a sustainable and efficient way to produce your own fresh vegetables, herbs, and fruits. This helps ensure that the ingredients you use are as fresh and nutritious as possible.
With that out of the way, …
Categories