Cloning Questions

by David Spencer
(Mesa, Az)

You're article on the homemade cloning setup and the article on preparing the clones leave some questions: when putting 4 or 5 clones in a 1/2 gal milk jug, what keeps them from falling down into the jug? With the article on the cloning tub, you have 1/2 inch hanging out and in the article on preparing the clone you say to put them into a rockwool cube 1/2 inch from bottom. To prepare the clones for the cloning tub, would you still use the rockwool cubes? Can this be done all together, to use these two methods for you're cloning tub plans following the same procedure of both articles?


Answer: David- any clones you take should have a few side branches. When using the milk jug method, it is the side branches of the first clone that keeps it from falling down into the jug. Once you have three or four or five clones in the jug this becomes even less of a problem, as they support each other and there is not enough room in the 1 inch hole in the top of the milk jug for any of the clones to slip past the other clones and fall in. Once you have several clones in there, they just sit there like flowers in a vase.

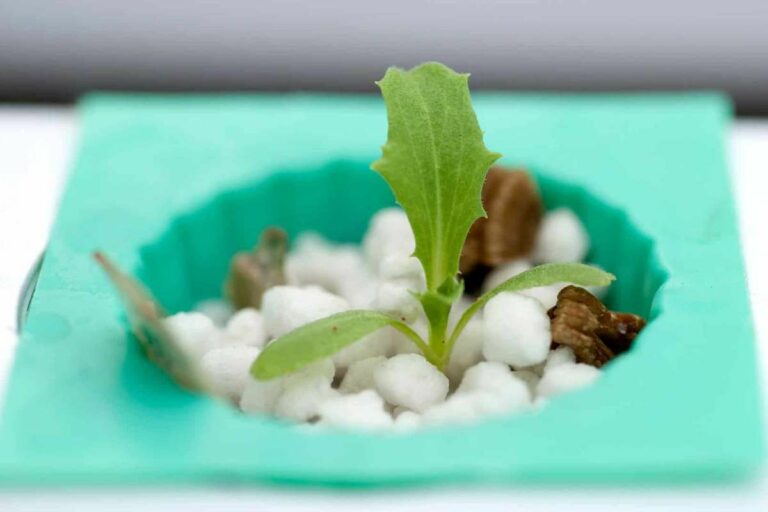
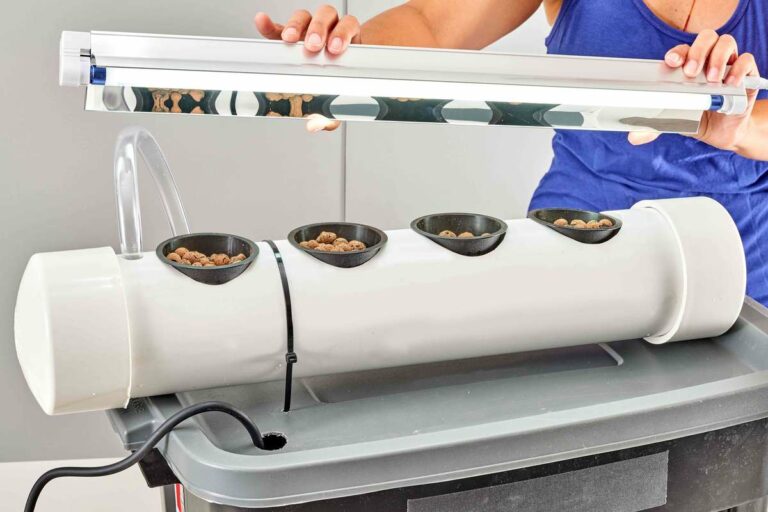
When I first wrote the article on the tub-style cloner, I had used perforated cups filled with expanded clay pellets for the grow medium. As you can imagine, a cup full of clay pellets leaves a lot of air spaces....which becomes a problem. The best way to get a clone to successfully root is to keep a moist surface in full contact with the whole surface of the stem where you are trying to grow the roots!

In the picture you refer to, I had to push my clones down through the clay pellets until the cut end of each clone just barely became submerged in the water sitting just below the "netted pots". This was to much of a pain in the butt, which caused me to make my first improvement to the system....which was to use rockwool plugs instead of clay pellets and to keep the cut end of each clone up inside the rockwool plug a little bit to guarantee the cut would seal properly and not get an air embolism.

It is important to note, in the milk jug method the clones are actually submerged in the water a little bit and left there a few days while they heal. They are than transferred into pre-moistened plugs and kept in a humidity dome until they begin to pop roots out. In the tub method the clones are suspended slightly above the water surface (already in the plugs), but kept moist by the rockwool plug and by the popping of all the little bubbles put off by the air stones. With the tub method, there is no need to disturb the clones until they have popped roots out.

If I understand your last question correctly, I hope this will give you a better idea of how to proceed. In my opinion the tub method is easier, tends to have fewer problems, and almost always produces a higher success rate.

I recommend using a 16 quart plastic storage container from a dollar store instead of using a big, plastic storage tote as I did. You can fit up to 40 clones in a container that size if you drill the holes in the lid right....the plastic storage tote I used on my first try was an overkill. Make sure to get a container with a FLAT lid- otherwise it is difficult to drill the holes in the top for the clone plugs. Buy a second 16 quart container to use as a humidity dome.

I have made one final improvement to the system. I use a bag of Rapid Rooter replacement plugs for the clones now instead of rockwool plugs. They have just the right moisture content right out of the bag, plus you never have to worry about pH problems (as you sometimes do with rockwool), and finally- they are inoculated with beneficial organisms that prevent pythium and encourage faster root growth. Since I have made this final change to my system, I have never gotten less than a 100% success rate when taking clones.

To achieve these same results yourself, make sure to always use a sharp, clean razor to take your clones. Always swirl your clones in some cloning gel after you cut them- it doesn't matter what brand, as long as it is gel. It is a good idea to wash your hands before taking any clones. Always remove the humidity dome once or twice a day to give the clones a little fresh air. Always mist them a little with a spray bottle whenever you are giving them fresh air. Use a 7/8 inch hole saw to cut the holes in your lid- this size fits the Rapid Rooter plugs well (and the rockwool plugs, too). Finally, make sure to put some fluorescent light directly over the cloner- you can even rest the light fixture right on the humidity dome if you want!

One final tip- I usually cut the Rapid Rooter plugs down the middle, so I can lay the clone in there and close the plug back around it. It causes less damage to the fragile cut end of the clone where your first roots are likely to grow from. I hope this helps you out Dave, and Happy Growing!

Comments for Cloning Questions

Average Rating starstarstarstarstar

Click here to add your own comments

Apr 27, 2010
Rating
starstarstarstarstar
You Should Start Selling the Products that you recommend...!
by: Anonymous

The site is so helpful that it could be a one stop website where you learn to grow indoors and can purchase the right supplies to get started. Great Job

Added Response-Thank you...I have only recently gotten the "helpfulness" of the site to the point where I want it to be, but eventually I hope to do exactly that!

Click here to add your own comments

Join in and write your own page! It's easy to do. How? Simply click here to return to Misc Hydroponic Gardening Q&A.

All of the items that I personally use and recommend!

AffordableGarden Design&Setup

(10 week update below)


Find out the cheapest and easiest ways to garden productively in this article.

Hi everyone, Jason from Jason's Indoor Guide here. When I got started with hydroponic gardening more than 24 years ago, my first garden used rockwool cubes and B.C. Nutrients....and I remember thinking to myself yeah, sure, there may be a lot of advantages to gardening with hydroponics, for example there are very few pest problems, therefore very little pest control, no weeding, no plowing or tilling the soil, no soil testing or having to add things into the garden soil, no watering the garden....but for someone who just wants to grow their own vegetables and have more control over their food supply and the quality of the food that they eat, the cost of constantly having to buy grow media and hydroponic nutrients makes this an expensive hobby for most people...


Epic Nutrient Change


I suppose when you take into consideration how much money you save NOT having to buy food at the grocery store, it is surely cheaper to grow your own food hydroponically even with the cost of high quality nutrients. Nevertheless, I didn't have a whole lot of money to work with and I needed to make my efforts as affordable and effective as possible....and in the last 24 years I HAVE learned a thing or two!

As you browse through Jason's Indoor Guide, you will notice all of the systems that I use personally are homemade systems. As I got 3 or 4 years of experience under my belt, I quickly adopted a preference to standing water systems and systems that use expanded clay pellets or lava rock, because the media is re-usable and it eliminates a huge operating expense. So once a hydroponic system is built, garden maintenance is minimal- check and adjust the nutrient solution daily, and to change it completely every 2 weeks....and the biggest operating cost is the hydroponic nutrients. (and the electric bill, lol)...


Homemade Cloner


And, regarding the cost of the nutrients....I experimented for about 3 years with making different compost teas and nutrient teas, but there is still a lot of expense $$$ associated with making high quality nutrient teas....like kelp meal, liquid seaweed, rock dust, bat guano, un-Sulfured molasses, worm castings. You can eliminate a lot of this expense by becoming an expert at making high-quality colloidal humus compost, and use your properly made compost as the basis of your hydroponic nutrient solution.

Unfortunately, I have been gardening for over 24 years and I have only just recently mastered this difficult skill....and even then, only because I happened to find a very easy to follow, high quality technique and decided to follow the instructions to the letter. I produced more high quality compost in just one week than I was able to use in a whole year! If you can master the technique, I highly recommend it. It is one of the top 3 things you can do to increase the productivity of your food production efforts, while at the same time decreasing the amount of effort required to grow all of your own food, and decreasing the total cost of operating your food production system.

And when I say decrease operating costs, I mean decrease them to almost ZERO, especially if you are producing your own nutrients...


High Efficiency
Hydroponics

The ultimate solution to eliminate the cost of your hydroponic nutrients: Imagine a hydroponic system that does not require you to buy any nutrients, does not require you to make your own compost, and does not require you to brew your own nutrient tea. Seriously! No cost and no effort as far as providing nutrients to your plants! Plus, at the end of the gardening cycle you harvest all of your garden vegetables, PLUS YOU HARVEST FISH from the system--->

Aquaponics

Click Here to learn more!

This solution is aquaponics. If you are serious about producing all of your own food and being self-sufficient, this is the ultimate solution for reducing expenses (as much as possible), reducing the total amount of work required, and maximizing the productivity of your gardening efforts. I have been gardening for over 24 years, and it is the perfect food production solution in my opinion.


Produce garnden vegetables AND fish together. Eliminate fertilizer costs!

Besides mastering how to make high quality compost, learning aquaponics is one of the top 3 things you can do to increase your garden productivity, reduce your total costs, and reduce your total work. The product that I learned from is called Aquaponics4you. With all of my hydroponic gardening experience, the first time I came across the Aquaponics4you product I knew immediately that it was something very special! Place an aquaponics system outdoors and use the sun instead of grow lights, and you have reduced every garden expense to nearly ZERO!


The Same System/ 10 Weeks Later!


If you've found this site helpful at all, I would really appreciate it