Making a Homemade Hydroponics System that Works

A homemade hydroponics system does not have to be complicated or expensive to build. Each type of hydroponics system has its own special things you must consider. Before building your own system, you should be familiar with common problems that often trouble various hydroponic systems. Below is a list of systems that are the easiest to put together and that you can still get great results from. These hydroponic system types are...


Click here for the full seed list


Once you have a system, check out the sections on hydroponic feeding tips and organic hydroponics for some plant feeding ideas. Or, put together the perfect environment to keep your hydroponic system in at garden design.


The Hand Watering Method

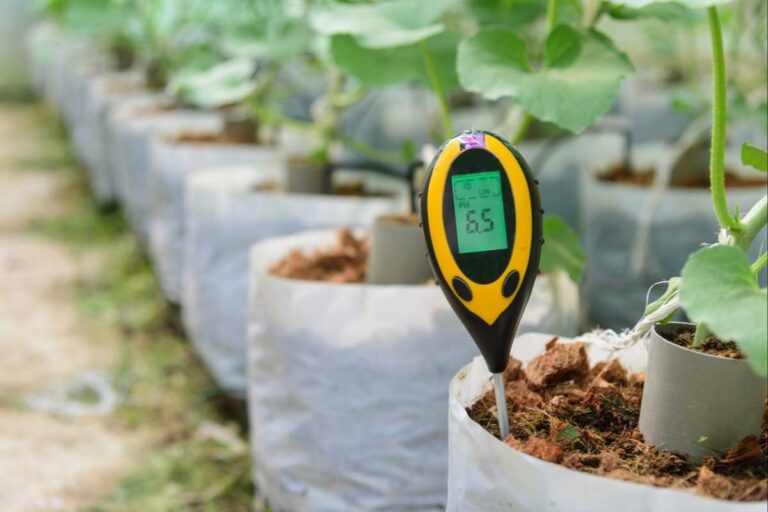
Grow bags are more affordable than hard plastic containers if you are starting on a budget. Most growers prefer other options

This is the lowest cost, lowest maintenance system. You can fill 50 cent grow bags with a soilless mix (like equal parts vermiculite/perlite/coconut coir) and you are all set to grow.

With this method, it is important to make the medium slow draining. This is accomplished by using the vermiculite and coconut coir, both of which retain water. The goal is to have the bags retain the nutrient solution (and stay moist) for about the same amount of time as a soil mix would. All of this is very easy to accomplish. Simply water every day or two using whatever feeding plan you like.


Deep Water Culture (DWC)

Great as a cloner. Having the reservoir right underneath fully mature plants, though, makes it difficult to maintain the nutrient solution.

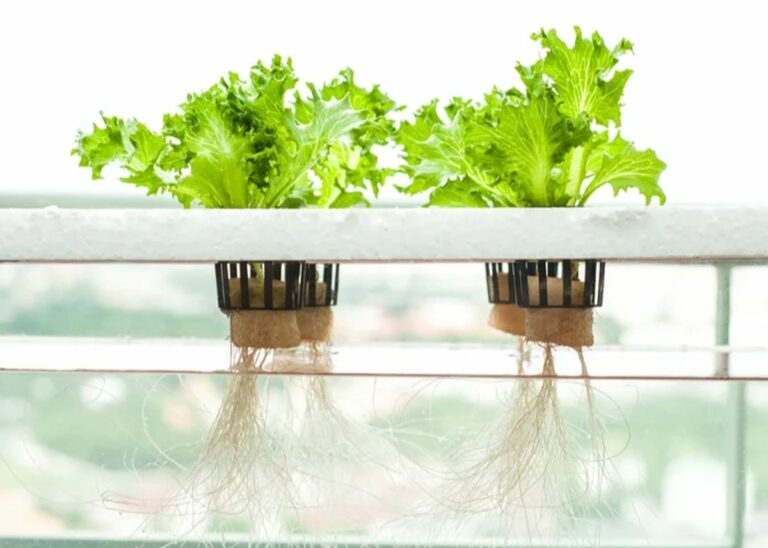
Also known as the reservoir method, this homemade hydroponics system is also very easy. To duplicate a deep water culture system homemade, all you need is a cheap plastic storage tote, a regular fish aquarium air pump, and a couple of air stones. Alternately, water can be pumped up into pipes or grow tubes above and flow back to the hydroponic reservoir below.

In tight spaces, square containers offer maximum root space and block light from the nutrient solution very well

An effort should be made to keep light out of the nutrient solution. This will prevent algae growth, which will prevent the appearance of fungus gnats. Square containers fit together nicely to make the most of your space, and also to block light. As another option, holes can be cut in the lid of the storage tote to accommodate several plant containers, keeping in mind the importance of blocking the light from the nutrient solution.


The Flood and Drain Method
(aka ebb and flow)

Having media for plants to anchor into and a separate area for the reservoir, a flood and drain system is a great choice for growing plants to full maturity

For a homemade hydroponics flood and drain system, you will need two sturdy plastic storage totes, an aquarium air pump, an aquarium water pump, a timer, a set of flood and drain fittings, and a short length of plastic tubing. The parts are all easy to get, except the flood and drain fittings can be a little tricky to find sometimes. I found an affordable set on Amazon.


These yellow topped totes are a little expensive, but they are super heavy-duty and light proof. They last forever, and are perfect as a nutrient reservoir

First, one tote will be your nutrient reservoir. Pick a dark colored tote to keep light out (this will prevent algae growth). The air pump should go to a couple of air stones, which will be kept bubbling in the nutrient reservoir. The water pump goes there as well.

The other tote will go on top of the nutrient reservoir and hold the plant containers. Somewhere in the bottom of this container (out of the way of the plants) you will cut two 3/4 inch holes and install the flood and drain fitting and the overflow fitting.

Digital timers are far superior to the physical pin-and-tab timers. Pins and tabs eventually wear out. Do yourself a BIG favor and get a digital timer!

Finish it off by running a short piece of tubing from the water pump to the flood and drain fitting (which is the shorter of the two). All you have left to do is plug the water pump into the timer, set your timer for your flood and drain cycle, and fill the nutrient reservoir with about ten gallons.

A low pressure water pump of 400gph (gallons per hour) should be just about right for this kind of homemade system

When the pump kicks on, the top container will fill with water (but never higher than the overflow). When the pump kicks off, the nutrient solution will drain back down the shorter fitting, leaving the plant roots and growing medium wet with nutrient solution.

The flood and drain is the homemade hydroponics system I first started out using. The function of the system is so simple. The results are consistently very good. The system is so easy to put together... there is no reason to ever purchase an expensive hydroponic setup!


The Nutrient Film Technique (NFT)

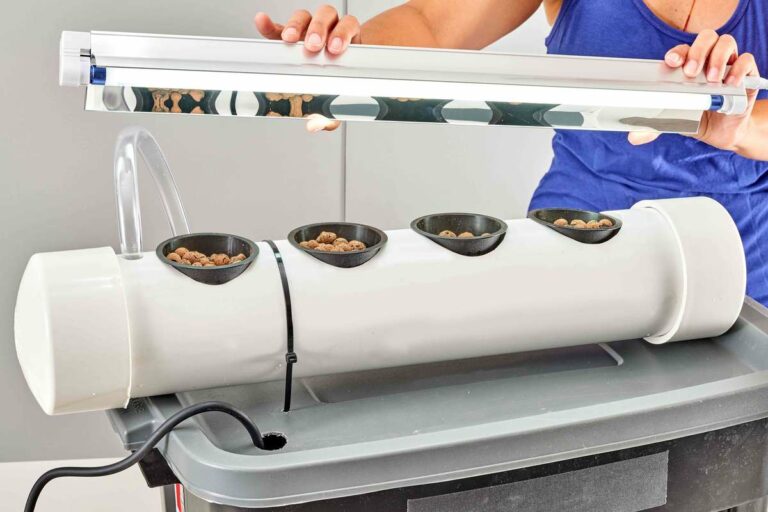
To build a homemade hydroponics NFT system, you will need plastic gutters, PVC pipe, or any flat container a few inches deep. You will need a cheap plastic tote for a nutrient reservoir, and an air pump to keep it Oxygenated. You will also need a water pump to move the nutrient solution, and some capillary mat.

If you try this, it's probably a good idea to keep the plants small

In this homemade hydroponics example, the gardener uses one line from the pump to feed the top PVC pipe. Gravity then pulls the water back and forth until it is back at the nutrient reservoir.


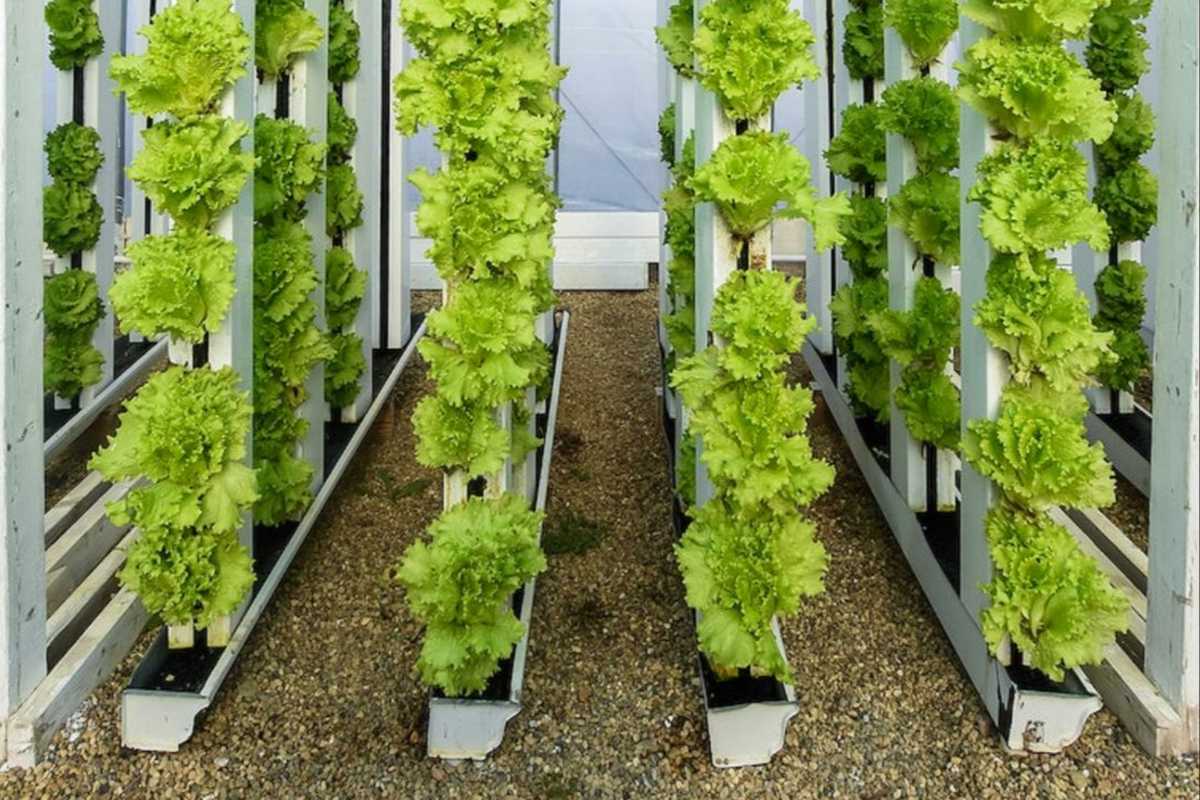
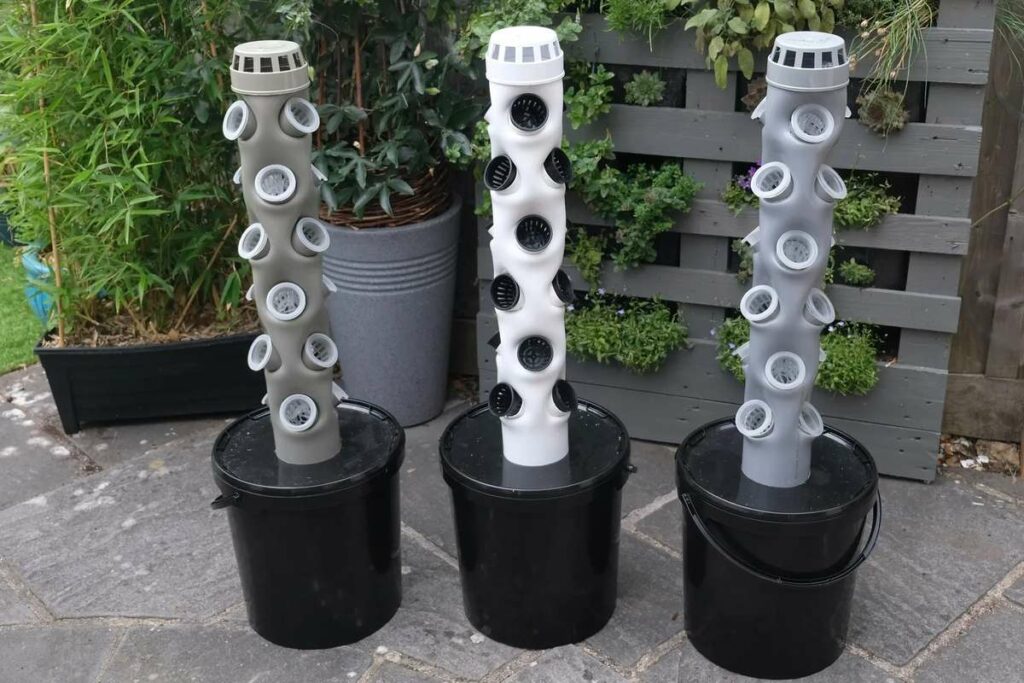
This design could be aeroponics, deep water culture, NFT, or even flood and drain depending on exactly how the design is used

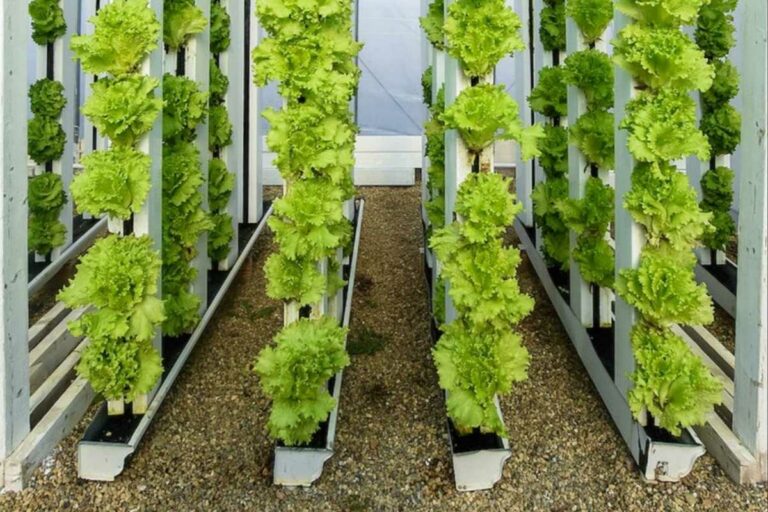
In this setup, each row is being fed constantly from a line off the pump. Each row drains back into a collection pipe, which drains back to the nutrient reservoir. This setup would require a much stronger water pump, but a low pressure pump could still be used. An affordable version of this system can be made from PVC pipe or fence post.

The key to a successful homemade Nutrient Film Technique system is the capillary mat in the bottom of every gutter, pipe, and tray. Also, make sure to pitch your pipes just a little to keep the water flowing in the right direction.


Homemade Hydroponics Wick System

A wick system can be extremely low maintenance, low cost to put together, and can be a very reliable system. The system pictured here is NOT actually a wick system

For this homemade hydroponics setup you will need two cheap storage totes, some square plant containers, and several feet of 1/2 nylon rope. You will also need an air pump to keep the nutrient solution Oxygenated. The hydroponic system above has been fitted with drip emitters for top feeding. With the reservoir positioned directly below the plants, this system could very easily be made into a wick system (or a hybrid system).

Nutrient absorption occurs ONLY in the presence of Oxygen. That is why the dissolved Oxygen in your nutrient solution is so important!

One storage tote will become the nutrient reservoir on the bottom. The nutrient reservoir always gets the air stones from the air pump. The top tote will hold the plant containers. 1/2 inch holes are drilled beneath each plant container to allow the nylon rope to hang down into the nutrient solution. Each rope must be long enough to be buried through most of a planting container, yet still be able to hang down into the nutrient solution.

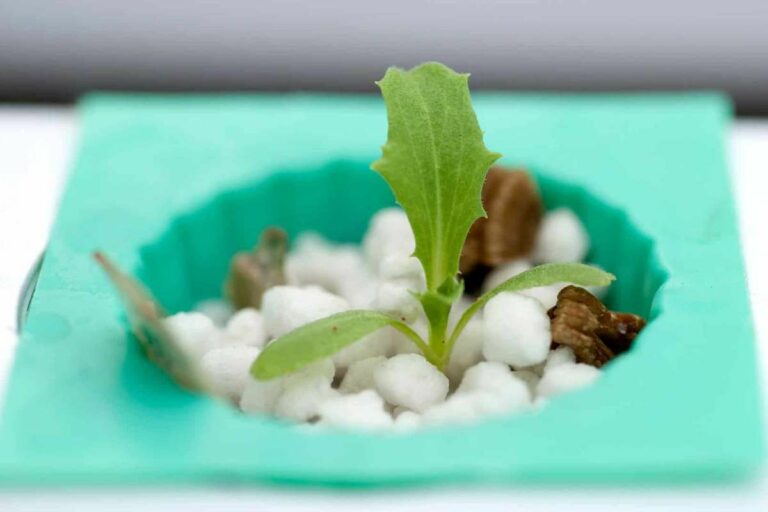
Finally, you want to fill the plant containers with a medium that will pull water from the nylon wick into the plant container. A 50/50 mix of perlite/vermiculite should work well. Perlite and coconut coir would also work well.

Leave the homemade hydroponics page and
Learn more about Homemade System Design


Check out Homemade Hydroponic System Construction Tips


Learn about Common Problems with Hydroponic Systems


AffordableGarden Design&Setup

YouTube once again censored my last video-- enjoy this throwback from 2016 when we were first getting started!


Buy Seeds Now!
Missing Time Seed Company


High Efficiency
Hydroponics

The ultimate solution to eliminate the cost of your hydroponic nutrients: Imagine a hydroponic system that does not require you to buy any nutrients, does not require you to make your own compost, and does not require you to brew your own nutrient tea. Seriously! No cost and no effort as far as providing nutrients to your plants! Plus, at the end of the gardening cycle you harvest all of your garden vegetables, PLUS YOU HARVEST FISH from the system....

Aquaponics

Click Here to learn more!

This solution is aquaponics. If you are serious about producing all of your own food and being self-sufficient, this is the ultimate solution for reducing expenses (as much as possible), reducing the total amount of work required, and maximizing the productivity of your gardening efforts. I have been gardening for over 24 years, and it is the perfect food production solution in my opinion.


Produce garnden vegetables AND fish together. Eliminate fertilizer costs!

Besides mastering how to make high quality compost, learning aquaponics is one of the top 3 things you can do to increase your garden productivity, reduce your total costs, and reduce your total work. The product that I learned from is called Aquaponics4you. With all of my hydroponic gardening experience, the first time I came across the Aquaponics4you product I knew immediately that it was something very special! Place an aquaponics system outdoors and use the sun instead of grow lights, and you have reduced every garden expense to nearly ZERO!


The New LED System/ BlackDog LED!


The moment LED lighting can finally compete with HID lighting. Very sweet!

Also, I'm working on a new video host - YouTube sucks!

Going to try THETA video next!


If you've found this site helpful at all, I would really appreciate it