How to Grow Tomatoes
in your Indoor Garden

Learning how to grow tomatoes indoors can be very rewarding. My own organically grown tomatoes always taste better than store bought ones. My mouth waters just thinking about my next fresh tomato salsa or the smell of garlicky homemade spaghetti sauce simmering. Mmm, let's get started!

Click here for the full seed list

Take your time picking out a great tomato variety to grow. Many hothouse growers make the mistake of choosing a fast growing tomato, then forcing the fast growth with chemical fertilizers. This is a profit driven strategy and usually produces tomatoes with very little flavor. If you want award winning flavor, I recommend using a proven heirloom variety fed with organic nutrients, and given plenty of time to ripen in a natural fashion.


Seed Starting Soil Mix

The first step to learning how to grow tomatoes is preparing a good planting mix to start with. The mix I use is a standard soil-less potting mix with about 10% worm castings added. Standard potting mix is usually equal parts perlite, vermiculite, and sphagnum peat and is adjusted to the right pH by adding 1 teaspoon of hydrated lime for every gallon of soil mix. For tomatoes, I like to adjust the pH of my soil mix this way because the lime is a good source of Calcium (which prevents blossom end rot in the tomatoes later on).

Moisten the initial potting mix little by little, using plain water and Thrive Alive B1. The mix is just right when you squeeze a handful of the potting mix and get just a few drops out of it... but only a few. If your mix is a little too wet, just add a few handfuls of dry vermiculite (or perlite) and remix.


Starting your Tomato Seeds

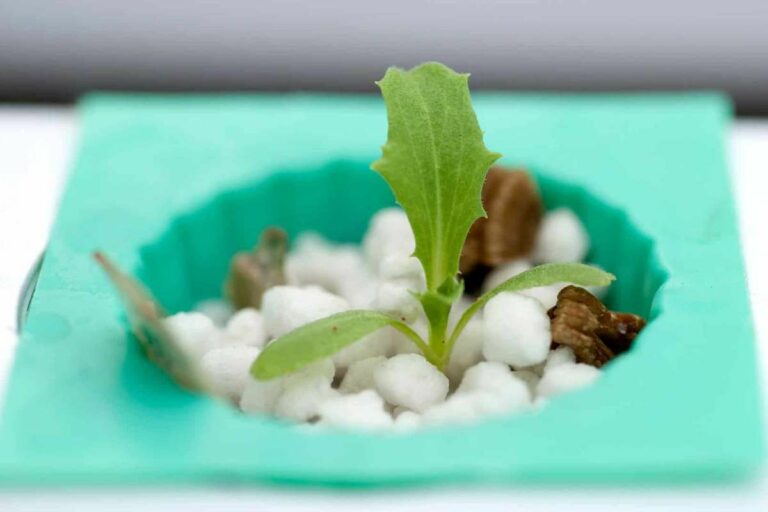
Starting seeds is always a delicate part of growing anything, and learning how to grow tomatoes is no different. Start with a regular nursery tray full of your soil mix. Tomato seeds should be planted 1/4 inch deep, and about 8 seeds/inch. You may want to cover them for the first few days to keep them from drying out. If your seed starting tray does not have a lid, a sheet of plastic wrap will do fine.

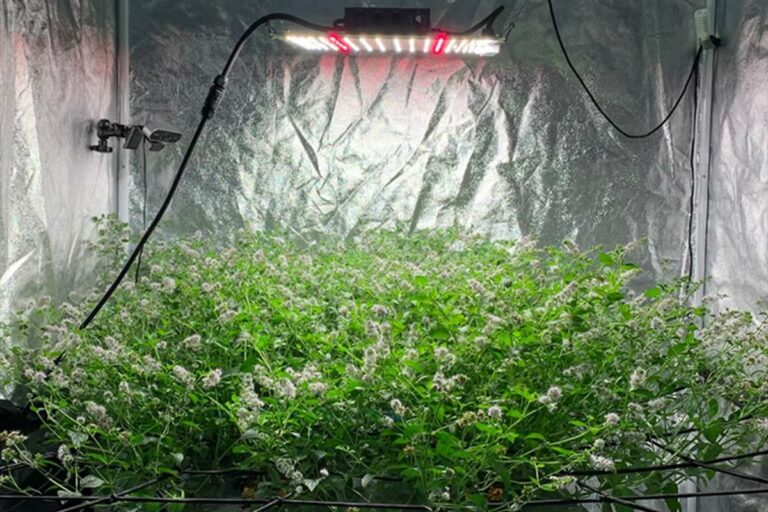
Tomato seeds germinate best at 80 degrees, and should be mostly up in 5 to 12 days. Remove any cover you may have on them as soon as they begin popping up. The fresh sprouts should be kept 4 to 6 inches from a fluorescent grow light. The light should be kept on 18 to 24 hours a day to encourage vegetative growth. When they are 1 1/2 inches tall, carefully transplant them into their own 6 inch containers.


How to Grow Tomatoes Vegetatively

This is the easiest step of how to grow tomatoes. Keep them under 2 or 3 fluorescent lights that are kept on 18 to 24 hours every day. I usually feed them Maxsea 16-16-16 at this point, although they could probably use even more nitrogen (the first number). The strength of the solution is about 600 ppm, which is 1 rounded teaspoon of Maxsea/gallon. I also add 10 ml/gallon Thrive Alive B1, which helps to maintain fast cell division and healthy growth.

If you are growing in a hydroponic system, the nutrient solution is being provided to your plants on a regular basis by the hydroponic system. If you are growing in the soil or in a soil-less mix, your plants should be watered with the nutrient solution (fertilized) every two to four weeks, depending on the feeding requirements of your particular plants.

I often like using Maxsea because it is a seaweed based fertilizer. Seaweed is a rich source of trace (or micro) nutrients. As long as the major nutrient requirements of your plants are met, there should be no problems with any nutrient deficiencies....as long as a seaweed based fertilizer is used. Another option is to use your favorite 3-part hydroponic fertilizer, which would also provide all of the necessary primary, secondary, and (in particular) micro-nutrients.

The ideal temperature for growth is 72-80 degrees during the day and 65-70 degrees at night. When the plants reach 12 inches or more, they may need transplanting into one gallon containers. After 6 to 8 weeks, your plants should be just about ready to begin bearing fruit.


Begin Flowering your Tomatoes

Flowering is one of the trickiest parts of how to grow tomatoes indoors. You will need to be familiar with how to force flowering in your plants. Some tomatoes produce fruit in 60 days and others take up to 80 days, beginning from the time you force flowering. Some time before this point you want to make your final transplant into 3 gallon containers. Do this about two weeks before you force the flowering cycle to give your tomato plants time to adjust before fruiting.

For the first two weeks, you want to continue feeding them with a balanced N-P-K fertilizer like 16-16-16 or similar. After the first two weeks of flowering, the fertilizer should be adjusted to contain less Nitrogen and more Phosphorus and Potassium. A fertilizer like MaxSea 10-20-20 would be appropriate for the rest of the growing cycle. Each time they need water give them fertilizer also at 800 ppm, which would be about 2/3 of the recommended "full strength" found in the MaxSea fertilizer directions. Keep in mind you are feeding them each time you water them. For the rest of the season, feed them 10-20-20 or similar at 800 ppm.


Tomato Flower Pollination

Flowering is the trickiest part of how to grow tomatoes (indoors), and pollination is the trickiest part of flowering. As soon as flowers develop and begin to open, you must pollinate everyday while it is warm and humid. Ideally, the humidity will be 65 to 70 percent. Greenhouse growers usually do this between 11:30am and 12:30pm (basically noon) when these conditions occur naturally. For them, early and late day pollination often will not produce proper crops.

This is a tomato flower. Part A is the male anthers that will drop the pollen. Part B is the female carpels that will catch the pollen. The little red arrow is where it all takes place.

Most male anthers produce their pollen on the outsides of the anthers, making it easy to release pollen into the wind for pollination. In the tomato plant, however, pollen is produced internally, as if trapped in a straw. This is the biggest problem for indoor tomato producers just learning how to grow tomatoes indoors.

The plant needs vibration at the right frequency, such as the buzzing of a bees wings, to dislodge and release the pollen. Large greenhouse growers often use mason bees, located in small boxes inside the greenhouse, to do this efficiently. Small growers often end up doing the work of pollination by hand. The best way I have found to do this is to take an electric toothbrush to each support truss and main branch. The more pollen to successfully fertilize the plant, the more seeds will be produced in the fruit (and therefore the meatier the tomato will be).


Final Indoor Tips

Just some final ideas for you on how to grow tomatoes. Flowering plants have strong light requirements in order to grow properly developed fruit. A properly built greenhouse usually provides enough natural light to grow healthy tomatoes. Check out high pressure sodium lighting tips if you have any doubts.

Also, I strongly recommend using a little lime in the transplant soil to prevent blossom end rot. For the same reason, a dose of Cal-Mag once your tomatoes have fruit set would not be a bad idea...simply mix in the recommended dose with your normal nutrient solution.


Finally, the vines that grow out from leaf axials (where branches meet the main stem) are called suckers, and should be pruned off regularly throughout flowering. They suck up food that would normally be used to grow nice tomatoes. In 60 to 80 days, you too will be enjoying some homemade spaghetti sauce!


Learn more about Hydroponic Nutrients

Check out Proper Lighting Requirements


Leave the How to Grow Tomatoes page and
Learn about Preventing Tomato Disease


AffordableGarden Design&Setup

YouTube once again censored my last video-- enjoy this throwback from 2016 when we were first getting started!


Buy Seeds Now!
Missing Time Seed Company


High Efficiency
Hydroponics

The ultimate solution to eliminate the cost of your hydroponic nutrients: Imagine a hydroponic system that does not require you to buy any nutrients, does not require you to make your own compost, and does not require you to brew your own nutrient tea. Seriously! No cost and no effort as far as providing nutrients to your plants! Plus, at the end of the gardening cycle you harvest all of your garden vegetables, PLUS YOU HARVEST FISH from the system....

Aquaponics

Click Here to learn more!

This solution is aquaponics. If you are serious about producing all of your own food and being self-sufficient, this is the ultimate solution for reducing expenses (as much as possible), reducing the total amount of work required, and maximizing the productivity of your gardening efforts. I have been gardening for over 24 years, and it is the perfect food production solution in my opinion.


Produce garnden vegetables AND fish together. Eliminate fertilizer costs!

Besides mastering how to make high quality compost, learning aquaponics is one of the top 3 things you can do to increase your garden productivity, reduce your total costs, and reduce your total work. The product that I learned from is called Aquaponics4you. With all of my hydroponic gardening experience, the first time I came across the Aquaponics4you product I knew immediately that it was something very special! Place an aquaponics system outdoors and use the sun instead of grow lights, and you have reduced every garden expense to nearly ZERO!


The New LED System/ BlackDog LED!


The moment LED lighting can finally compete with HID lighting. Very sweet!

Also, I'm working on a new video host - YouTube sucks!

Going to try THETA video next!


If you've found this site helpful at all, I would really appreciate it