Jason's Best Hydroponic Gardening Tips and Tricks

These are the very best hydroponic gardening tips that I've learned over many years of personal experience (often the hard way). I have seen many people try hydroponic gardening once or twice and fail, never to try again. The reason usually falls into one of three categories...

  • lack of knowledge- you don't know how things should be or what you need to do
  • lack of discipline- you know how things should be and you know what needs to be done, but you don't take the time or put forth the effort
  • lack of ability- you need more first-hand experience,  or perhaps you do not have the necessary hydroponic gardening equipment or supplies


Click here for the full seed list
General Hydroponics pH adjustment kit

The hydroponic gardening tips I list/explain below will help you identify (and eliminate) problems in your garden. Even after reading advice like this myself, it took two years of making mistakes and learning things the hard way before I changed my approach and took these lessons to heart. As a result, I had the most successful garden I ever had. So, follow the tips below to shave years off of your learning curve and skip right to excellent results!


Best Hydroponic Gardening Tips -
The Short List

  • Know what equipment you need and why
  • Know the nutritional requirements of your plants
  • Know the light/photoperiod requirements of your plants
  • Use a professional three part hydroponic nutrients product
  • Do not use additional nutrient additives your first time
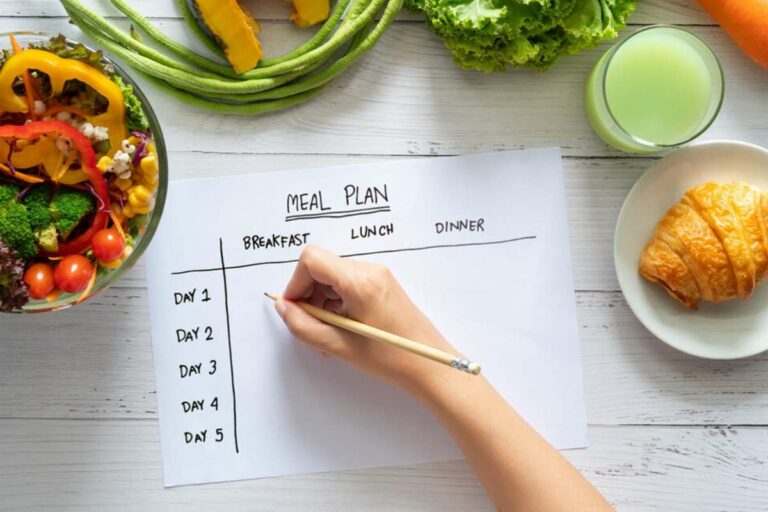
  • Have a written plan/feeding schedule before you start
  • Have all necessary equipment and nutrients before you start
  • Garden indoors when it is 55*F or less outdoors (or use AC)
  • Keep the ballast for your lights in a different room
  • Check and adjust your nutrient reservoir solution every day
  • Minimize light exposure to your nutrient solution
  • Have an extra reservoir of plain water waiting for your next nutrient change
  • Change your water and nutrients completely every two weeks
  • Use a digital timer to control your dark period
  • Keep your dark period completely dark and un-interrupted
  • Clean and sterilize your system between crops
  • Quarantine new plants for two weeks before adding to your garden
  • Do not visit your garden after visiting another garden or being outdoors
  • Do not allow pets in your garden
  • Visit your garden after a shower and a fresh change of clothes
  • Make any visitors to your garden follow these same rules
  • Put a screen or filter over your air intake and exhaust (if outdoors)

Having a Plan

Nutrients include printed feeding plans that are easy to follow

Hydroponic gardening success begins with having a solid plan. Having a plan means knowing your plants nutritional requirements and photoperiod requirements and having the supplies and equipment necessary to meet those needs. Actually having a written week by week feeding schedule, complete with nutrient strengths and nutrient changes, would also be very helpful....these feeding instructions automatically come with the nutrient starter kits from General Hydroponics and B.C. Nutrients.


Feeding/Nutrients

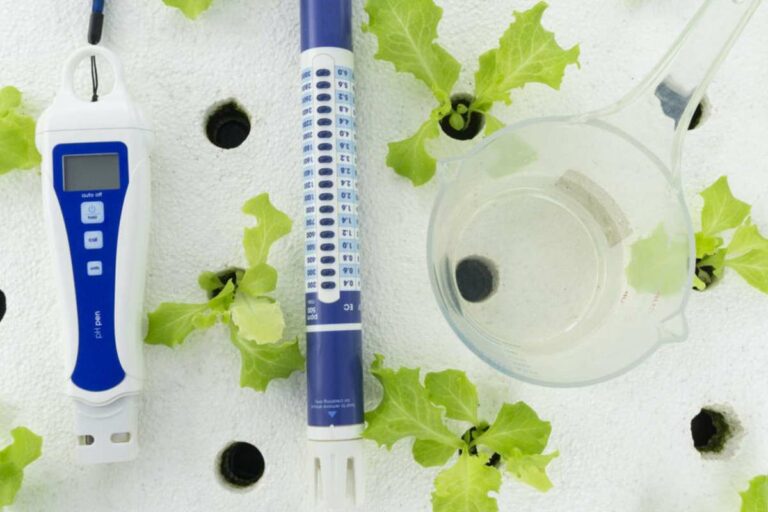
Do not guess! Buy a good TDS meter.

Know the nutritional requirements of your plants before you start. Know how strong the nutrients should be each week of your plant's life, and know what the nutrients should consist of each week. Many plants need more Nitrogen at first, then switch to needing more Phosphorus to produce fruit or flowers. Get yourself a TDS or EC meter so you can keep track of your nutrient solution strength and adjust it as your plants grow.

B.C. Nutrients have always given me great results, and require very little pH correction compared to some other nutrients

Do not try to mix up your own plant food. Instead, start with a professional hydroponic nutrients product. These are usually three part systems and are complete (and easy to use). My favorite is BC Nutrients by Technaflora. Once your hydroponic gardening system is up and running and producing excellent results, then you can try mixing up your own special plant food if you like. At least then you will know exactly what the problem is if things don't work out!

B1 constantly drives cell division and plant growth. I use it in every drop of water from start to finish

The same is true for using nutrient additives. Don't try to improve your results by adding a bunch of extra things to your nutrient reservoir (at least not at first). This is one of the hydroponic gardening tips that I end up repeating to everyone that I help personally! Start by feeding just the basic three part nutrients until your hydroponic gardening system is working smoothly and producing excellent results. Then if you like you can try adding vitamin B1, liquid seaweed, or Silica (or all three).

Having an extra nutrient reservoir helps a lot when it comes time to do a full nutrient solution chance. The tote here is heavy duty!

Finally, you need to check and maintain your nutrient reservoir every day. After using the same nutrients for two weeks, you need to start over with fresh water and fresh nutrients. The most beneficial way to do this is to have two nutrient reservoirs, one with nutrient solution for your hydroponic gardening system and one with plain water for your next nutrient solution change. I can't stress how important this hydroponic gardening tip is! The second reservoir allows the water to de-Chlorinate and come to room temperature, both protecting your roots. See also my hydroponic nutrients page.


Root Health

Healthy roots are usually white in color. 16 ounce solo cups make cheap netted pots

If roots become damaged, they cannot take up nutrients to feed the plants. Any damage below ground will result in damage above ground as dead leaves and sick plants. Protect your roots by maintaining your nutrient solution properly, by using two hydroponic nutrient reservoirs (one with plain water for your next nutrient change), and by minimizing the amount of light that comes in contact with your nutrient solution. This will prevent algae, which will prevent fungus gnats, which will prevent most root damage problems.


Adequate Lighting

A 600 watt light is ideal for a garden 4'x4' to 4'x8' in size

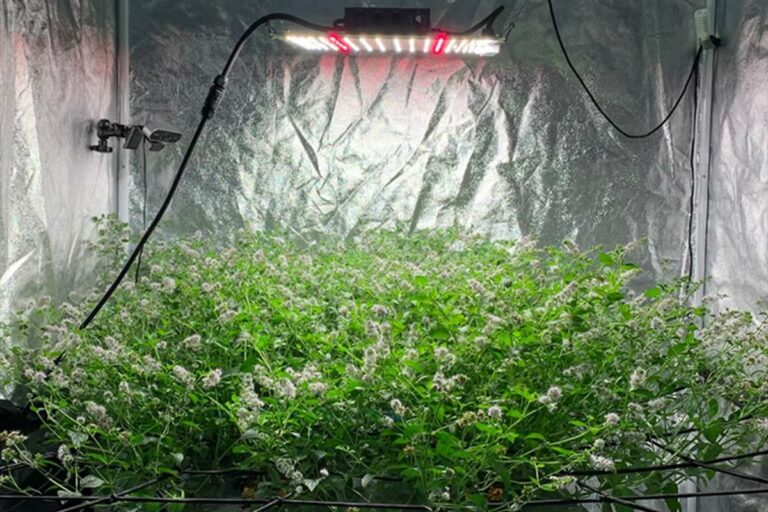
There are very few shortcuts when it comes to lighting an indoor garden. You need a minimum of 40 watts/sq.ft., but 60 watts/sq.ft. would be better. Either high pressure sodium lights or metal halide lights will do a very fine job and are the most popular choices. For various reasons I recommend either a 600 watt light or a 1000 watt light. For help choosing a light, try my light selector tool. This will be one of your largest expenses- expect to pay between $400 and $600 dollars on average for a decent system (light+reflector+ballast)(11/8/2016-not anymore, they are a lot cheaper now!).

T5 fluorescent lights are perfect for clones and the veg area. A more powerful light is usually desired in the flowering area

A couple of hydroponic gardening tips on fluorescent lights: Regular fluorescent lights do not put out enough usable light for healthy growth and are only good for clones, seedlings, or very young plants in the vegetative stage (spinach, lettuce, kitchen herbs). If you decide to go with fluorescent lights in your grow room, T5 lights (aka Tek lights) are really the only way to go. While T5 lights produce less heat than HID lights, they only yield about half as much watt for watt. It is also necessary to keep the tops of your plants within a few inches of the light, which becomes a real pain in the butt sometimes.


Controlling the Temperature

A digital indoor/outdoor thermometer lets you monitor the temp in the grow room AND the temp in your hot spot (directly under the light)

One of the biggest hydroponic gardening tips is temperature control! Plant growth quickly STOPS when the temperature rises above 85 degrees (unless you happen to be pumping in CO2 constantly). HID grow lights put out a lot of heat, making temperature control a big issue for the indoor garden. Placing the ballast for your light outside the grow room will help (only if you have an old magnetic coil ballast, and not a nice new digital ballast lol), but even that is not nearly enough. Centrifugal fans or squirrel cage fans are an absolute must (see exhaust fan setup). In my experience, fans alone are often not enough. What is truly needed is a source of cool/cold air.

Centrifugal fans are the most efficient air movers out there whether you are exhausting hot air or pulling in cool, fresh air

After years of organic and hydroponic gardening I have come up with only two hydroponic gardening tips for solving this problem... plan to garden indoors whenever the temperature outdoors is 55*F or less. In this way you can pull cool, dry air into your garden (from an outside source) as you exhaust the hot air. The only other option is to pump in air conditioning!


Photoperiod Manipulation

Grow tents are a quick way to set up a light proof garden area. Over-sized tents have enough space to allow for fans and even an isle for tending the garden

Many crops require shorter daylight periods to trigger flowering/fruiting. Two hydroponic gardening tips to success here: First, the lights need to be turned off and back on at exactly the same time each day (tip- use a digital timer!).


Delux version- better ventillation inlets and exhaust ports, and a little more room for a full sized garden at 8footX8footX6ft.8inches

Second, the plants should be kept in absolute, complete, UN-interrupted darkness during the dark period. Either use a completely blacked-out room dedicated to the garden, or else use a blacked-out grow tent. Plants can be extremely sensitive to this, so don't try to skirt around this! For more info, check out my flower forcing page.


The Right Equipment/Tools

A digital timer is useful for controlling lights, humidifiers, and fans. It is crucial to a successful flowering room in my opinion!

Don't start your garden unless you have all your bases covered from the beginning. You will need a completely dark area, a high powered fan, an adequate light, a hydroponic gardening system, hydroponic nutrients, an oscillating fan, a TDS meter (or EC meter), a pH test kit, and possibly an air conditioner. Minimum. A thermometer and a digital timer would really come in handy too, I promise!


Leave the Hydroponic Gardening Tips Page and
Check out the Indoor Garden Design page


Check out Homemade Hydroponic System
Construction Tips


AffordableGarden Design&Setup

YouTube once again censored my last video-- enjoy this throwback from 2016 when we were first getting started!


Buy Seeds Now!
Missing Time Seed Company


High Efficiency
Hydroponics

The ultimate solution to eliminate the cost of your hydroponic nutrients: Imagine a hydroponic system that does not require you to buy any nutrients, does not require you to make your own compost, and does not require you to brew your own nutrient tea. Seriously! No cost and no effort as far as providing nutrients to your plants! Plus, at the end of the gardening cycle you harvest all of your garden vegetables, PLUS YOU HARVEST FISH from the system....

Aquaponics

Click Here to learn more!

This solution is aquaponics. If you are serious about producing all of your own food and being self-sufficient, this is the ultimate solution for reducing expenses (as much as possible), reducing the total amount of work required, and maximizing the productivity of your gardening efforts. I have been gardening for over 24 years, and it is the perfect food production solution in my opinion.


Produce garnden vegetables AND fish together. Eliminate fertilizer costs!

Besides mastering how to make high quality compost, learning aquaponics is one of the top 3 things you can do to increase your garden productivity, reduce your total costs, and reduce your total work. The product that I learned from is called Aquaponics4you. With all of my hydroponic gardening experience, the first time I came across the Aquaponics4you product I knew immediately that it was something very special! Place an aquaponics system outdoors and use the sun instead of grow lights, and you have reduced every garden expense to nearly ZERO!


The New LED System/ BlackDog LED!


The moment LED lighting can finally compete with HID lighting. Very sweet!

Also, I'm working on a new video host - YouTube sucks!

Going to try THETA video next!


If you've found this site helpful at all, I would really appreciate it