Hydroponincs for NGOs in Laos

by Alex
(Laos, PDR)

I am currently undertaking initial research on a development program in Laos PDR in which we are hoping to supplement coffee farmers income and vegetable consumption with alternative crops.
There is, however, a space constraint and I am investigating hydroponics as an option.
My question is: do you have any knowledge in low tech systems using local materials, including bamboo and recycled materials?


I am also having trouble finding information on making nutrients from manure, compost and worm castings.
I thank you for your time,
Alex
Seda-Laos

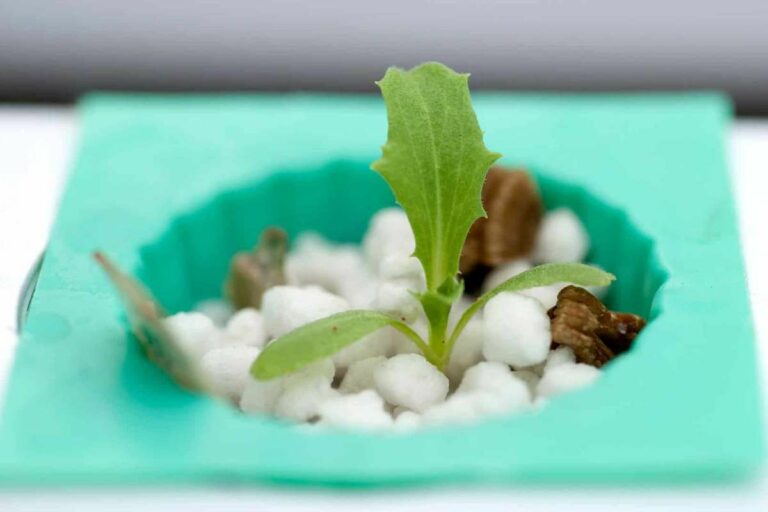
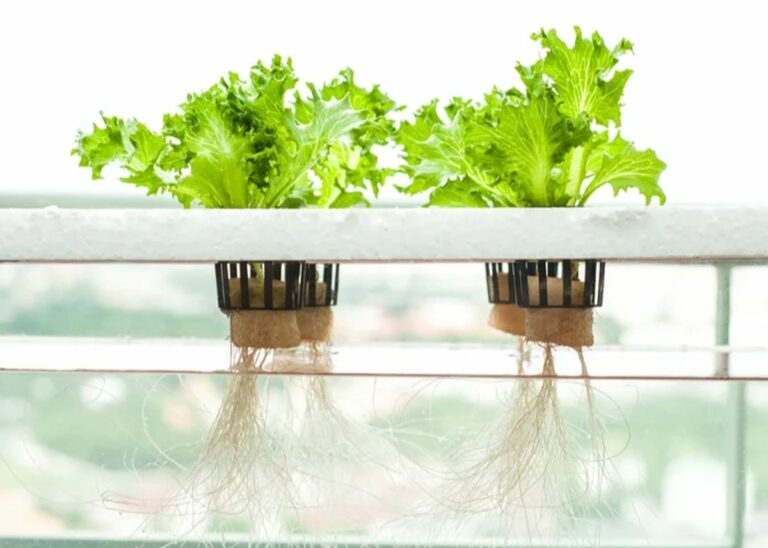
Answer:  Alex- the main feature of hydroponics is that the nutrients are provided to the plants in water they are given. Some systems will require a grow medium to support the plant roots. Other systems are simplified even further and grow plants directly in the water without any grow medium (supported in place by small net pots and a wedge of foam rubber, styrofoam, clay pellets, or even small pebbles). I will talk more about these systems in a little bit.

The most low-tech system would be to grow plants in containers in a soilless mix (such as coconut coir) and to hand-water the plants, presumably with a compost tea made from the manure, compost, and worm castings. However, if you are going to go through all the effort to garden in this way, you may be better off using "square foot gardening" techniques. While it is not hydroponics, square foot gardening is very compact and you can produce a lot in a small amount of space (yields/sq.ft. comparable to hydroponics).

In square foot gardening, you build the garden bed up instead of tilling down into the soil. First, start with a layer of newspaper on the ground two sheets thick (to prevent weeds). Next, using square bales of hay, remove sections of the bale one at a time and lay them down flat over the newspaper (right next to each other) until you have a layer of hay. Next, you want about 3 inches of compost/manure. Than you want about 10 inches of loose straw, and finally you want to top off the whole garden with another 2 or three inches of compost/manure (in which to plant the seeds). It helps if you have the raised garden bed area retained by cinder blocks or wooden boards.

This next step may sound trivial, but it is very important if you want to grow the most produce possible from the area...using string and small nails (or thumb tacks), section off the garden into a grid of 1 foot x 1 foot squares. When you go to plant vegetables into the garden, if the seed pack says to plant seeds every 12 inches, than plant only one in the center of one of the squares. If the seed pack says to plant every 6 inches, plant four (in a square pattern) in one of the squares. If the seed pack says to plant every 4 inches, plant 9 (in a square pattern) in one of the squares. If the seed pack says to plant every 3 inches, plant 16 (in a square pattern) in one of the squares.

In this way, you will grow the most produce possible from the area with no wasted space. A garden built in this way is compact and very productive....and also requires very little weeding (possible none). Also, because of the loose nature of the garden bed, plants tend to grow very fast. More information can be found on this method doing a search on the internet for "square foot gardening". One tip- it may be easier to start seedlings and transplant them into a garden of this type rather than to start seeds directly in the garden. Sometimes seeds planted directly into the garden will fall through the "loose straw" layer.

If you do not plan on using a "hand watered" hydroponic gardening method, than one of the following systems may work (and will require less effort than square foot gardening)....

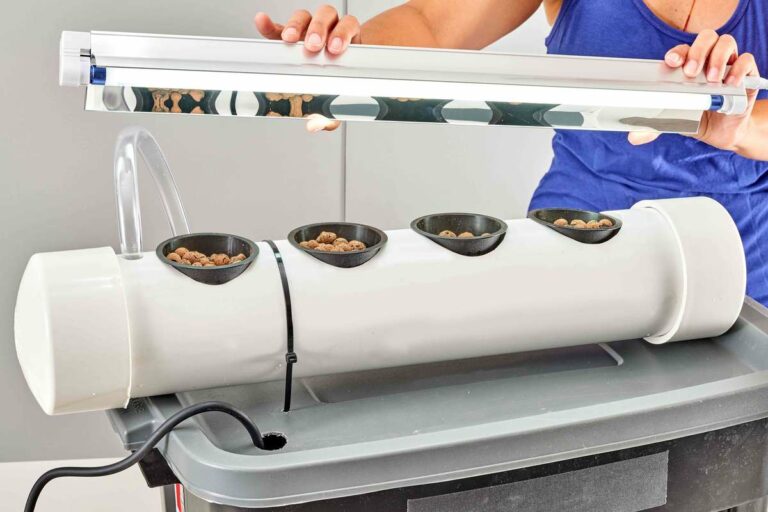
If large (4-5 inch diameter) bamboo is available in your area, you may be able to make a system similar to my most successful homemade hydroponic system. The image above shows a modified version of this system, where a single water pump could feed nutrient solution to four separate bamboo pipes. At the other end of the system, the nutrient solution would flow into a bamboo collection pipe, and then into another bamboo pipe to return to the nutrient reservoir. This type of system would grow plants directly in the water, eliminating the need for any other grow medium. For a system such as this, you will need to keep an air pump/air stone in the nutrient reservoir to keep the solution aerated.

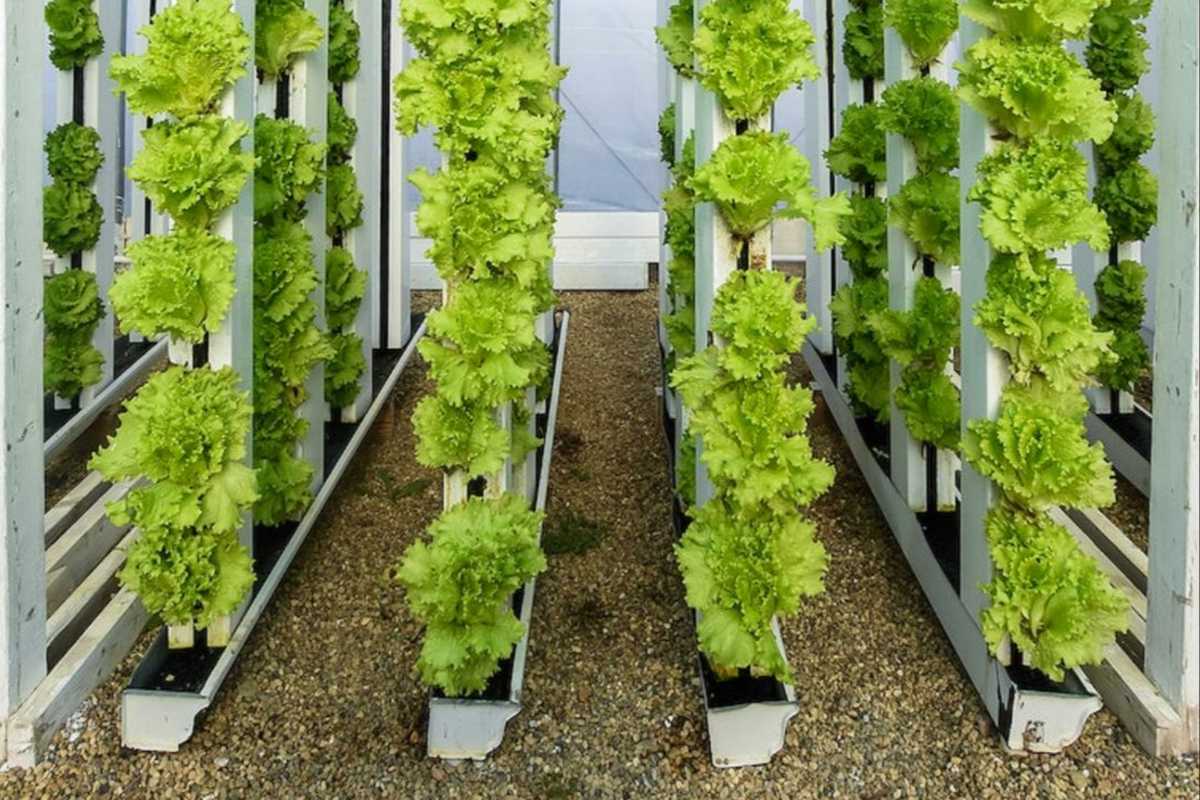
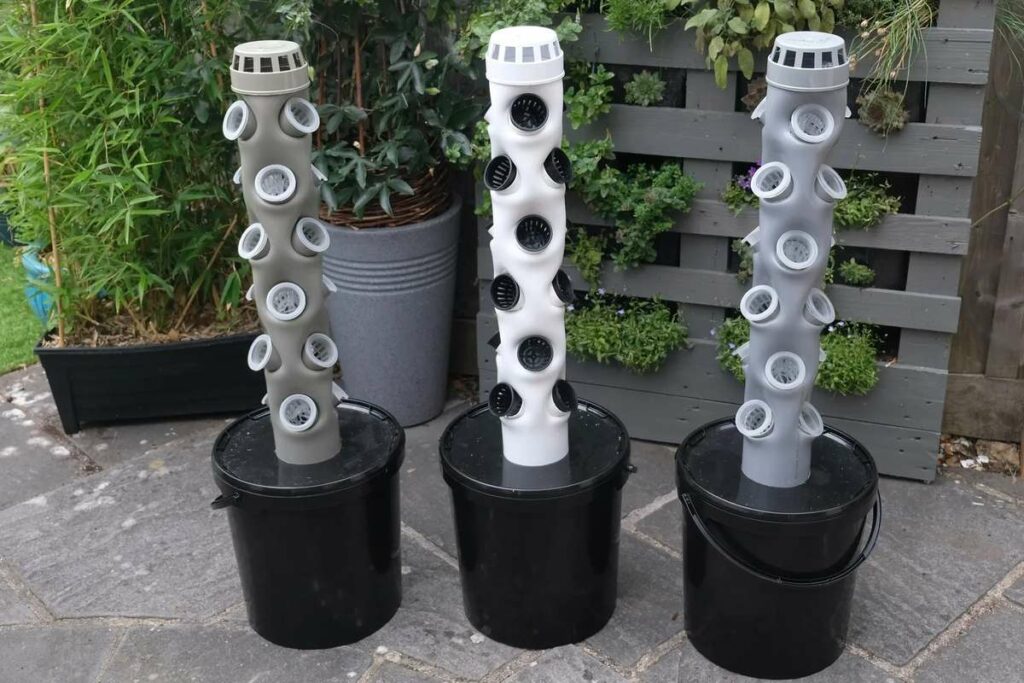
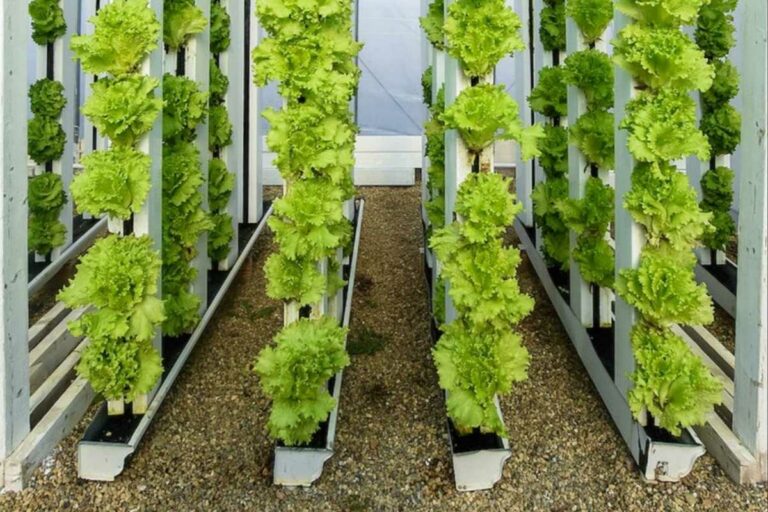
Another idea to save space is to design the hydroponic system vertically. Check out the system growing lettuce on this page. In Brazil it is becoming popular (in the cities) to grow vertical gardens such as this attached to the sides of buildings and on roof tops. They often wrap the hydroponic tubes in aluminum foil or tin foil to keep the roots cooler in the hot sun.

Another simple hydroponic system to use is the wick system. Plastic two liter bottles are good to reuse/recycle for this type of system. Cut the top 1/3 off of the bottle (evenly). Turn it upside down and place it into the bottom part of the bottle. The bottom part of the bottle should be filled with nutrient solution at about half strength (it will differ slightly for different plants). A piece of nylon rope, a strip of old t-shirt, or any other absorbent material about a foot long can be used as a wick....simply tie a knot in the wick (so it won't fall all the way in), and feed one end down through the neck of the bottle until the wick is hanging in the nutrient solution in the bottom of the bottle. The top of the bottle, which is the planting container, needs to be filled with something absorbent. Expanded clay pellets can be used, as well as kitty litter (un-scented), wood mulch, leaf mulch, partially composted straw, or anything else that will support a plant and also help wick the nutrient solution through the grow medium.

In my opinion, finding a hydroponic system design to fit your circumstances will be the easy part. The system simply needs to supply the plants with water, nutrients, and enough oxygen at the root level to keep them from drowning. The biggest challenge will providing the plants with all of the nutrients they need. If you are not going to use professional hydroponic fertilizers (which you have indicated you will not be), it can be tricky making sure all of the requirements are met.

Plants need Nitrogen, Phosphorus, and Potassium most of all....but they also use considerable amounts of Calcium, Magnesium, and Sulfur. In addition to that, they need very small amounts of Iron, Boron, Copper, Zinc, Manganese, Molybedenum, Chloride, and Boron. I can give you some tips on how to make compost tea to use as fertilizer, but if your plants begin to show signs of nutrient deficiency or a nutrient imbalance it will be very difficult to determine exactly what the problem is. You can minimize this problem greatly by using seaweed or kelp meal either in your compost or in the grow medium (seaweed contains almost every micro-nutrient), but make sure as much salt as possible has been removed from the seaweed before you use it.

To make compost tea, take a 5 gallon bucket and fill it with clean water. In an old sock, place about 2 1/2 cups of high quality compost and tie the top with a string. Suspend this in the water. Quality compost is living....it adds millions of beneficial micro-organisms to the brew (plus nutrients). These micro-organisms need oxygen to live, so you will need to add an air bubbler to the bucket. The micro-organisms also need a source of carbohydrates to eat (to encourage them to multiply)....this is usually some kind of seaweed (liquid, like maxicrop, or powdered, like kelp meal) although it can also be done with 1/4 cup of un-sulfured molasses. The seaweed will also add many micro-nutrients to the brew, as well as plant hormones.

If you want to increase the Nitrogen content of the tea, you can add a cup of aged manure (nothing fresh), or else several fist fulls of alfalfa hay. Jiggle the sock every once in a while to help release the nutrients. You might want to put something over the top of the bucket to keep the bugs out. After one or two days, the brew is ready. Don't use it straight.....dilute it with water until it looks slightly weaker than a cup of tea you would drink. At that point, it should be about the right strength. And remember to change the nutrient solution in your hydroponic system every two weeks!

I sure hope this helps! If you decide to grow a garden, I would love to hear about your garden design and what kind of results you are getting.

Click here to post comments

Join in and write your own page! It's easy to do. How? Simply click here to return to Misc Hydroponic Gardening Q&A.

All of the items that I personally use and recommend!

AffordableGarden Design&Setup

(10 week update below)


Find out the cheapest and easiest ways to garden productively in this article.

Hi everyone, Jason from Jason's Indoor Guide here. When I got started with hydroponic gardening more than 24 years ago, my first garden used rockwool cubes and B.C. Nutrients....and I remember thinking to myself yeah, sure, there may be a lot of advantages to gardening with hydroponics, for example there are very few pest problems, therefore very little pest control, no weeding, no plowing or tilling the soil, no soil testing or having to add things into the garden soil, no watering the garden....but for someone who just wants to grow their own vegetables and have more control over their food supply and the quality of the food that they eat, the cost of constantly having to buy grow media and hydroponic nutrients makes this an expensive hobby for most people...


Epic Nutrient Change


I suppose when you take into consideration how much money you save NOT having to buy food at the grocery store, it is surely cheaper to grow your own food hydroponically even with the cost of high quality nutrients. Nevertheless, I didn't have a whole lot of money to work with and I needed to make my efforts as affordable and effective as possible....and in the last 24 years I HAVE learned a thing or two!

As you browse through Jason's Indoor Guide, you will notice all of the systems that I use personally are homemade systems. As I got 3 or 4 years of experience under my belt, I quickly adopted a preference to standing water systems and systems that use expanded clay pellets or lava rock, because the media is re-usable and it eliminates a huge operating expense. So once a hydroponic system is built, garden maintenance is minimal- check and adjust the nutrient solution daily, and to change it completely every 2 weeks....and the biggest operating cost is the hydroponic nutrients. (and the electric bill, lol)...


Homemade Cloner


And, regarding the cost of the nutrients....I experimented for about 3 years with making different compost teas and nutrient teas, but there is still a lot of expense $$$ associated with making high quality nutrient teas....like kelp meal, liquid seaweed, rock dust, bat guano, un-Sulfured molasses, worm castings. You can eliminate a lot of this expense by becoming an expert at making high-quality colloidal humus compost, and use your properly made compost as the basis of your hydroponic nutrient solution.

Unfortunately, I have been gardening for over 24 years and I have only just recently mastered this difficult skill....and even then, only because I happened to find a very easy to follow, high quality technique and decided to follow the instructions to the letter. I produced more high quality compost in just one week than I was able to use in a whole year! If you can master the technique, I highly recommend it. It is one of the top 3 things you can do to increase the productivity of your food production efforts, while at the same time decreasing the amount of effort required to grow all of your own food, and decreasing the total cost of operating your food production system.

And when I say decrease operating costs, I mean decrease them to almost ZERO, especially if you are producing your own nutrients...


High Efficiency
Hydroponics

The ultimate solution to eliminate the cost of your hydroponic nutrients: Imagine a hydroponic system that does not require you to buy any nutrients, does not require you to make your own compost, and does not require you to brew your own nutrient tea. Seriously! No cost and no effort as far as providing nutrients to your plants! Plus, at the end of the gardening cycle you harvest all of your garden vegetables, PLUS YOU HARVEST FISH from the system--->

Aquaponics

Click Here to learn more!

This solution is aquaponics. If you are serious about producing all of your own food and being self-sufficient, this is the ultimate solution for reducing expenses (as much as possible), reducing the total amount of work required, and maximizing the productivity of your gardening efforts. I have been gardening for over 24 years, and it is the perfect food production solution in my opinion.


Produce garnden vegetables AND fish together. Eliminate fertilizer costs!

Besides mastering how to make high quality compost, learning aquaponics is one of the top 3 things you can do to increase your garden productivity, reduce your total costs, and reduce your total work. The product that I learned from is called Aquaponics4you. With all of my hydroponic gardening experience, the first time I came across the Aquaponics4you product I knew immediately that it was something very special! Place an aquaponics system outdoors and use the sun instead of grow lights, and you have reduced every garden expense to nearly ZERO!


The Same System/ 10 Weeks Later!


If you've found this site helpful at all, I would really appreciate it