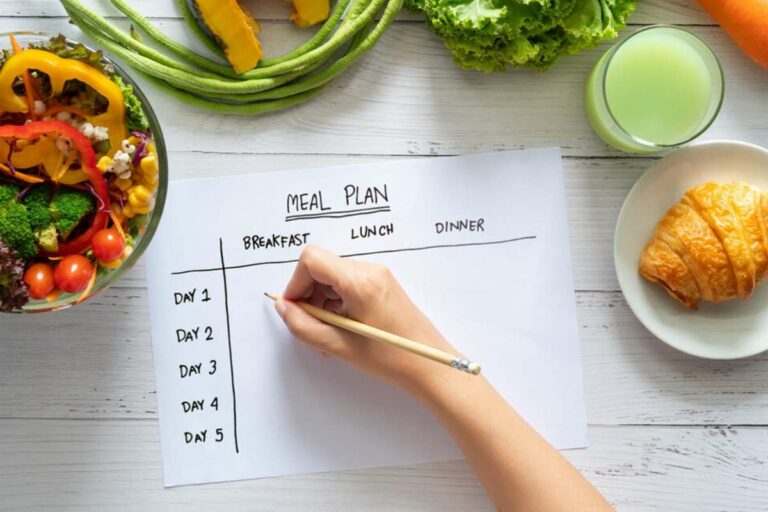
If you wish to do some organic gardening this year, my first suggestion would be to get a calendar. So many activities need to take place within certain dates, all in relation to the date of the last frost in your area. A calendar helps you to have an organized plan of action, will help you recall when certain things happened, and will keep you from missing important steps.
The first step in any organic garden is to start seeds. It is a good idea to start early- certain plants (like tomatoes and peppers) do best when grown indoors for 6 to 8 weeks before being moved outdoors. A more complete list of plants and seed starting times can be found on another page.
Determine the last frost date for your area. This is the date you will be transplanting most of your seedlings outdoors. Now count back 6 to 8 weeks on your calendar and mark a date- this is when you should start tomatoes and peppers. If it is too late in the season to start your seeds this early, do not panic! Even plants started outdoors will grow, they will simply be smaller and produce less.
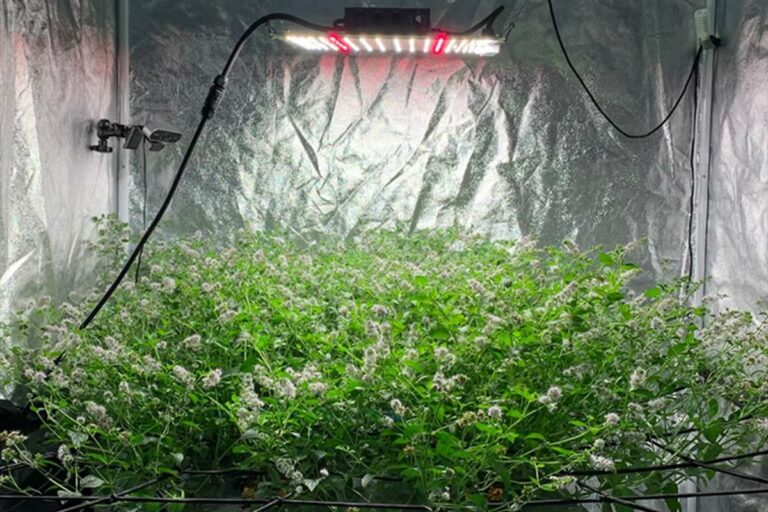
To start seeds indoors you will need seed starting trays, seed starting soil mix, a fluorescent light or two, a small oscillating fan, and a seed starting/transplanting fertilizer. Seed starting trays often come with a humidity dome to help keep the soil moist while the seeds germinate. They often also include little white plastic tags used to label your seedlings.
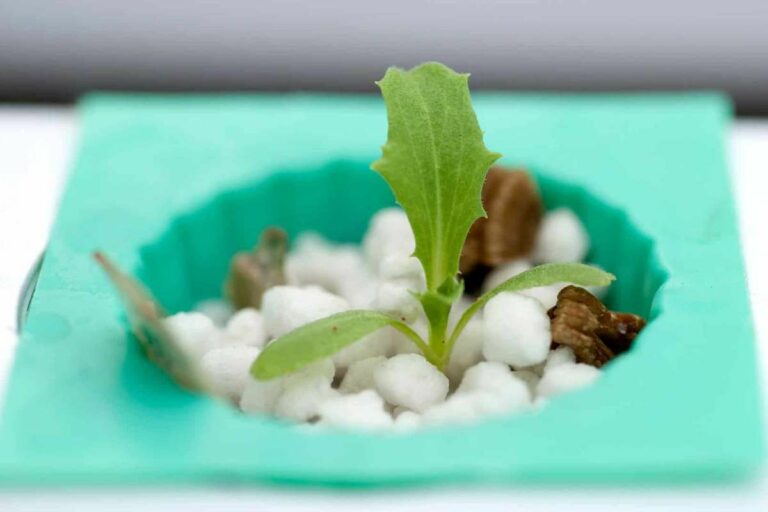
Using a commercially available seed starting mix will prevent most problems with weeds and seedling disease. Pre-moisten the soil and fill the seed trays to the top. If the soil drips when squeezed, you have it a little too wet. Add your seeds as directed on the seed package. Correctly label each seed section, add the humidity dome, and record on your calendar what seeds you have started today.
Most seeds will germinate at room temperature, and most seeds will sprout in 7 to 14 days. After the first sprouts appear, position the fluorescent light a couple of inches above the humidity dome. The fluorescent light should be kept on 18 to 24 hours a day. After all of the seeds have sprouted, you can remove the humidity dome. Always keep the seedlings within 12 inches from the light.
Plants breath through tiny holes in their leaves and depend on air movement to exchange gasses. An oscillating fan placed a couple feet back will accomplish this, and will also help thicken the stems to support more weight.
When the seedlings are 14 days old or so, they are ready for some plant food. I have lots of information on fertilizer on my organic gardening home page if you would like a better understanding, but here are the basics...
All fertilizers are made of Nitrogen, Phosphorus, and Potassium (also written N-P-K). All fertilizers display 3 numbers which represent the ratio of these three nutrients and the strength of the fertilizer. You don't want to burn your new seedlings, so all three numbers should be small (less than 20).
Your new seedlings will be using lots of Phosphorus to grow new roots, so the middle number (P) should be the highest of the three numbers. You should fertilize your seedlings every two weeks until you plant them outdoors. Writing the date you first feed them on your calendar will help you keep a good schedule.
When you begin fertilizing your seedlings, it is also a good time to thin them out to one plant per container.
After 4 to 6 weeks your seedlings should be several inches tall and may be ready for a bigger container- however, transplanting is not always necessary. If your seedlings show no signs of stress (dead spots or discoloration) you may decide to plant them from the seed trays directly into your organic garden.
To keep costs down, I use cheap 4 oz plastic disposable cups. With scissors, cut small slivers from the bottom of the cup for drainage (in case of over-watering).
Fill the cups with about one inch of pre-moistened soil. Carefully pop the seedlings out of the seed tray and place them in the cups. Add pre-moistened soil around the sides of the seedlings and gently firm the soil.
With a permanent marker correctly label each cup for future reference. This will be the only time you need to transplant your seedlings before being placed in your organic garden.
Seedlings indoors are kept rather comfortable. Outdoors the wind is stronger, the nights are colder, and the sun is much brighter. These are enough to kill young plants moved directly into the garden. You can greatly increase your success rate by providing your transplants with some "in between" conditions for a week before planting them in your garden.
One common way of doing this is to place the plants in a cold frame. Another idea is to move the plants outdoors for a couple of hours each day, giving them more and more exposure each day. Finally, you could place them directly into your organic garden, mulch well, and use some kind of crop cover.
While you are still caring for your seedlings indoors, it is a good time to begin preparing your organic garden bed. In this way, as you arrive at the transplant dates written on your calendar, the seedlings can be moved into the garden outdoors with little effort.